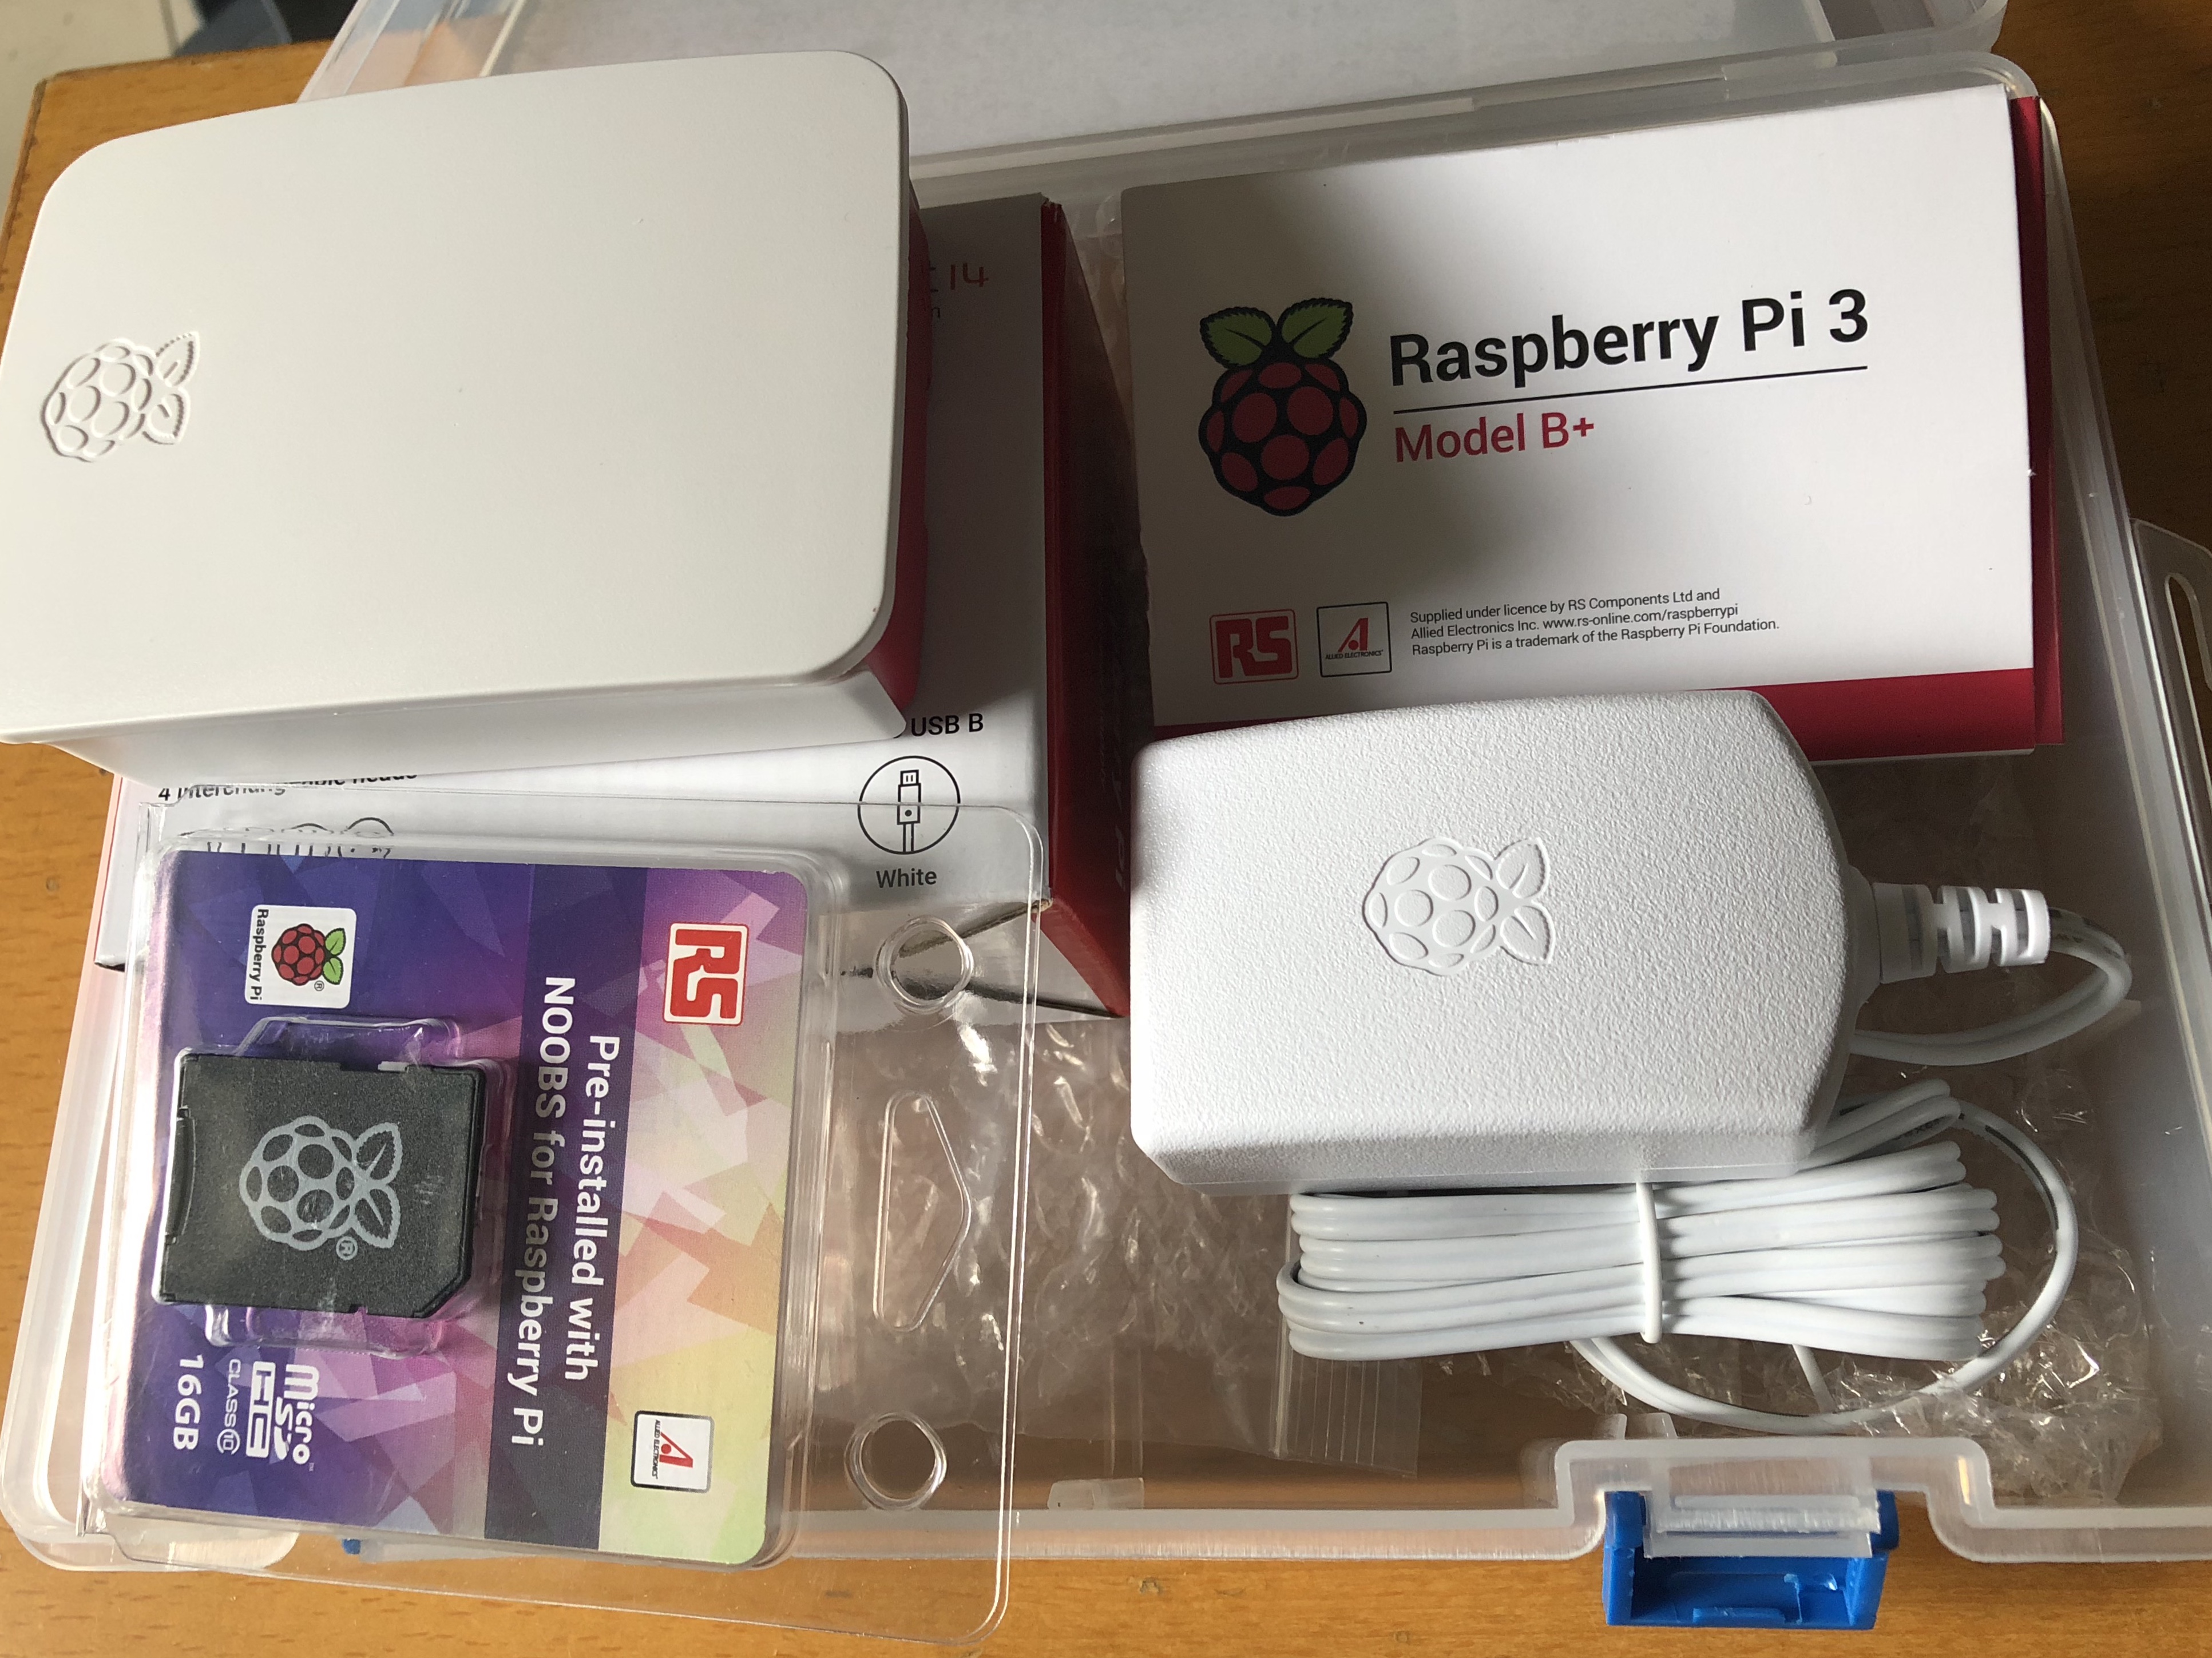
总结下最近两个月在我新买的树莓派3B+上运行的项目。
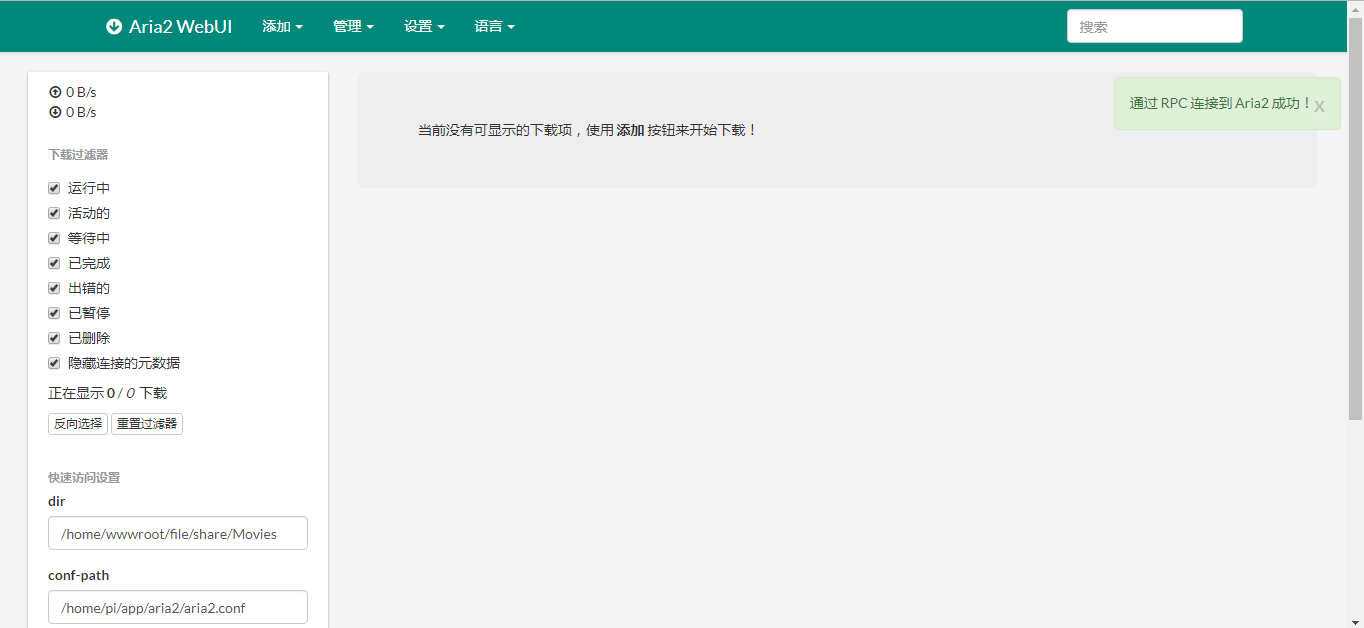
1)第一个想法是在树莓派接入有线网络、电源、usb接口的移动硬盘的硬件后,搭建基于aria2+aria2 webui的远程下载机;
Aria2是一个占用系统资源比较小的命令行下载机,支持http,https,种子,磁力链接等多种下载方式。项目的github地址:https://github.com/aria2/aria2
经过源代码的clone、make编译后,就可以配置启动aria2了,其中aria2.conf的配置文件内容如下:
dir=/home/wwwroot/file/share/Movies
continue=true
min-split-size=10M
max-connection-per-server=5
input-file=/home/pi/app/aria2/aria2.session
save-session=/home/pi/app/aria2/aria2.session
enable-rpc=true
rpc-allow-origin-all=true
rpc-listen-all=true
rpc-secret=mspace
listen-port=51413
enable-dht=true
dht-listen-port=6881-6999
enable-dht6=false
enable-peer-exchange=true
peer-id-prefix=-TR2770-
user-agent=Transmission/2.77
seed-ratio=1.0
bt-seed-unverified=true
bt-save-metadata=true
具体的搭建过程这里不多赘述,为了实现aria2的开机自启,我这里设置方法为在/lib/systemd/system里面新建aria.service,内容为:
[Unit]
Description=Aria2 Service
After=network.target

[Service]
User=pi
Type=forking
ExecStart=/usr/bin/aria2c --conf-path=/home/pi/app/aria2/aria2.conf -D

[Install]
WantedBy=multi-user.target
然后systemctl enable aria && systemctl restart aria,以应对重启后的服务启动问题。
Aria2 WebUI是一个以网页形式来管理aria2的程序,为了搭建其运行必要的服务器环境,我在树莓派上安装了轻量级的nginx,然后把Aria2 WebUI的源程序拖到相应的文件夹,绑定本地端口,实现服务的正常运行。Aria2 WebUI的Github项目地址:https://github.com/ziahamza/webui-aria2
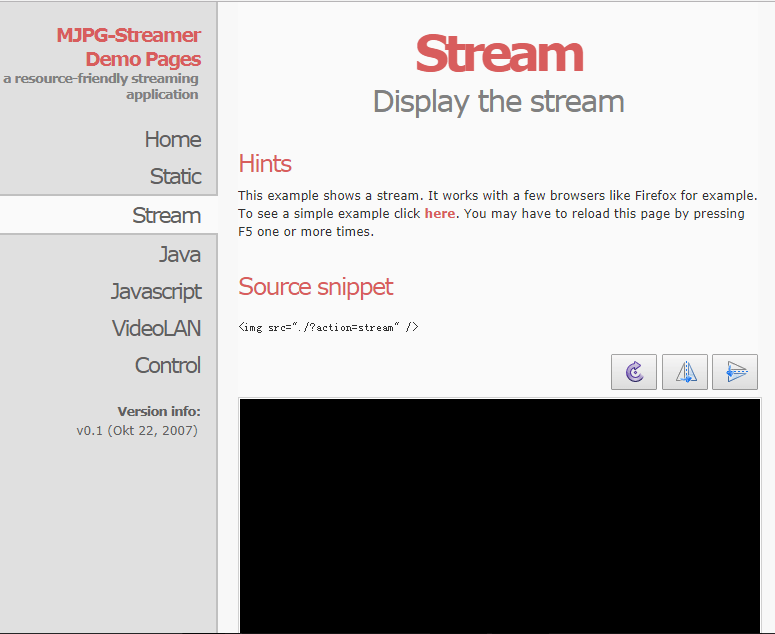
2)利用mjpg-streamer + usb 720P摄像头实现家中的远程监控;
之前为了实现网络远程监控的想法通过了两个项目来实现:motion与mjpg-streamer,前者在我尝试了在我的树莓派3B+上配置了之后,通过局域网访问还是有监控画面延迟高、帧率低的情况,不知道是我的motion配置的问题还是小派的性能限制,就选择了mjpg-streamer,运行良好。
项目的Github地址:https://github.com/jacksonliam/mjpg-streamer
为了mjpg-streamer的开机自启,我的做法是在树莓派的/etc/init.d文件夹下新建webcam文件,内容为:
#!/bin/sh

# /etc/init.d/webcam

### BEGIN INIT INFO
# Provides:          webcam
# Required-Start:    $network
# Required-Stop:     $network
# Default-Start:     2 3 4 5
# Default-Stop:      0 1 6
# Short-Description: mjpg_streamer for webcam
# Description:       Streams /dev/video0 to http://IP/?action=stream
### END INIT INFO

DAEMON=/home/pi/mjpg-streamer/mjpg-streamer-experimental
WC_USER=your_user_name
WC_PASSWORD=your_password
WC_PORT=8080

f_message(){
        echo "[+] $1"
}

# Carry out specific functions when asked to by the system
case "$1" in
        start)
                f_message "Starting mjpg_streamer"
                $DAEMON/mjpg_streamer -b -i "$DAEMON/input_uvc.so -r 1280x720 -f 30 " -o "$DAEMON/output_http.so -w $DAEMON/www -c $WC_USER:$WC_PASSWORD -p $WC_PORT"
                sleep 2
                f_message "mjpg_streamer started"
                ;;
        stop)
                f_message "Stopping mjpg_streamer…"
                killall mjpg_streamer
                f_message "mjpg_streamer stopped"
                ;;
        restart)
                f_message "Restarting daemon: mjpg_streamer"
                killall mjpg_streamer
                $DAEMON/mjpg_streamer -b -i "$DAEMON/input_uvc.so -r 1280x720 -f 30 " -o "$DAEMON/output_http.so -w $DAEMON/www -c $WC_USER:$WC_PASSWORD -p $WC_PORT"
                sleep 2
                f_message "Restarted daemon: mjpg_streamer"
                ;;
        status)
                pid=`ps -A | grep mjpg_streamer | grep -v "grep" | grep -v mjpg_streamer. | awk '{print $1}' | head -n 1`
                if [ -n "$pid" ];
                then
                        f_message "mjpg_streamer is running with pid ${pid}"
                        f_message "mjpg_streamer was started with the following command line"
                        cat /proc/${pid}/cmdline ; echo ""
                else
                        f_message "Could not find mjpg_streamer running"
                fi
                ;;
        *)
                f_message "Usage: $0 {start|stop|status|restart}"
                exit 1
                ;;
esac
exit 0
最后ssh中输入sudo update-rc.d webcam defaults,实现服务开机自启。
3)在搭建aria2下载机的同时,还需要解决Raspbian下ntfs格式的移动硬盘的读写问题。然后我还在小派上搭建了Samba服务,用于硬盘文件的局域网共享。
usb移动硬盘的挂载问题是通过在小派上安装ntfs-3g来解决,项目网址:https://www.tuxera.com/命令为:
sudo apt-get install ntfs-3g
然后设置挂载点:
sudo mount -t ntfs-3g /dev/sda1 /home/wwwroot/file/share
为了实现开机自动挂载并设置好相应权限,需要在/etc/fstab中写入:
/dev/sda1 /home/wwwroot/file/share ntfs-3g utf8,noexec,uid=1004,gid=1002,umask=0000 0 0
接下来的部分是在小派上配置Samba以实现局域网共享硬盘文件的目的:
首先通过sudo apt-get install samba安装软件,配置方法nano /etc/samba/smb.conf,然后再最后一行加入:
[share]
        path = /home/wwwroot/file/share
        browseable = yes
        public = yes
        writable = yes
        guest ok=yes
        comment= mobile HDD for share
实现Samba开机自启的方法是编辑/etc/rc.local文件,最后一行加入:
sudo /etc/init.d/samba restart

这样,就可以方便地在树莓派与Windows间传输文件了。
4)我在树莓派上安装了一个usb供电的小音箱,然后打算利用gmrender-resurrect & shairplay实现局域网下的基于UPnP/DLNA & Airplay的流媒体播放:

首先是gmrender-resurrect,通过git clone, 编译和安装,就可以在支持DLNA的安卓设备上,将音乐串流到连接到树莓派音频接口的小音箱了。其GitHub项目地址:https://github.com/hzeller/gmrender-resurrect
其开机自启的方法是编辑/etc/init.d/gmediarenderer文件,里面加入:
#!/bin/sh

### BEGIN INIT INFO
# Provides: gmediarender
# Required-Start: $remote_fs $syslog $all
# Required-Stop: $remote_fs $syslog
# Default-Start: 2 3 4 5
# Default-Stop: 0 1 6
# Short-Description: Start GMediaRender at boot time
# Description: Start GMediaRender at boot time.
### END INIT INFO

# User and group the daemon will be running as. On the Raspberry Pi, let's use
# the default user.
DAEMON_USER="gmediarender:audio"

# Device name as it will be advertised to and shown in the UPnP controller UI.
# Some string that helps you recognize the player, e.g. "Livingroom Player"
UPNP_DEVICE_NAME="DLNA-Raspberry"

# Initial volume in decibel. 0.0 is 'full volume', -10 correspondents to '75' on
# the exported volume scale (Note, this does not change the ALSA volume, only
# internal to gmrender. So make sure to leave the ALSA volume always to 100%).
INITIAL_VOLUME_DB=-10

# If you explicitly choose a specific ALSA device here (find them with 'aplay -L'), then
# gmediarenderer will use that ALSA device to play audio.
# Otherwise, whatever default is configured for gstreamer for the '$DAEMON_USER' is
# used.
ALSA_DEVICE="sysdefault"
#ALSA_DEVICE="iec958"

# Path to the gmediarender binary.
BINARY_PATH=/usr/local/bin/gmediarender

if [ -n "$ALSA_DEVICE" ] ; then
        GS_SINK_PARAM="--gstout-audiosink=alsasink"
        GS_DEVICE_PARAM="--gstout-audiodevice=$ALSA_DEVICE"
fi

# A simple stable UUID, based on this systems' first ethernet devices MAC address,
# only using tools readily available to generate.
UPNP_UUID=`ip link show | awk '/ether/ {print "salt:)-" $2}' | head -1 | md5sum | awk '{print $1}'`

USER=root
HOME=/root
export USER HOME
case "$1" in
        start)
                echo "Starting GMediaRender"
                start-stop-daemon -x $BINARY_PATH -c "$DAEMON_USER" -S -- -f "$UPNP_DEVICE_NAME" -d -u "$UPNP_UUID" $GS_SINK_PARAM $GS_DEVICE_PARAM --gstout-initial-volume-db=$INITIAL_VOLUME$
                ;;

        stop)
                echo "Stopping GMediaRender"
                start-stop-daemon -x $BINARY_PATH -K
                ;;

        *)
                echo "Usage: /etc/init.d/gmediarender {start|stop}"
                exit 1
                ;;
esac

exit 0
然后sudo update-rc.d gmediarenderer defaults,就可以随时找到树莓派无线小音箱啦 : )
接下来是在小派上安装Shairplay以支持IOS设备的串流,GitHub项目地址为:https://github.com/juhovh/shairplay同理根据项目说明,编译安装好所需要的依赖环境和软件后,命令行输入shairplay -a Raspberry,手机连上家中的路由器,就可以在airplay中找到叫做Raspberry的无线音箱了。开机自启同样为编辑/etc/init.d/shairport,加入以下代码:
#! /bin/sh

# To use this script, you must create a shairport user in the audio group:
#   sudo useradd -g audio shairport

### BEGIN INIT INFO
# Provides:          shairport
# Required-Start:    $remote_fs $networking
# Required-Stop:     $remote_fs $networking
# Should-Start:      pulseaudio alsa-utils hostname avahi
# Should-Stop:       pulseaudio alsa-utils hostname avahi
# Default-Start:     2 3 4 5
# Default-Stop:      0 1 6
### END INIT INFO

# Do not modify this file. Edit /etc/default/shairport instead !

PATH=/sbin:/usr/sbin:/bin:/usr/bin
DESC="Shairport Airtunes emulator"
NAME=shairport
DAEMON=/usr/local/bin/shairport

# Configuration defaults
USER=shairport
GROUP=audio
LOGFILE=/var/log/$NAME.log
ERRFILE=/var/log/$NAME.err
PIDFILE=/var/run/$NAME.pid
AP_NAME=Airplay-Raspberry
NICE=0

test -f /etc/default/shairport && . /etc/default/shairport

DAEMON_ARGS="--daemon --pidfile $PIDFILE --log $LOGFILE"

[ -z "$ERRFILE" ]     || DAEMON_ARGS="$DAEMON_ARGS --error $ERRFILE"
[ -z "$AP_NAME" ]     || DAEMON_ARGS="$DAEMON_ARGS --name $AP_NAME"
[ -z "$BUFFER_FILL" ] || DAEMON_ARGS="$DAEMON_ARGS -b $BUFFER_FILL"
[ -z "$RUN_ONSTART" ]    || DAEMON_ARGS="$DAEMON_ARGS --on-start "$RUN_ONSTART""
[ -z "$RUN_ONSTOP" ]     || DAEMON_ARGS="$DAEMON_ARGS --on-stop "$RUN_ONSTOP""
[ -z "$OUTPUT" ]      || DAEMON_ARGS="$DAEMON_ARGS --output $OUTPUT"
[ -z "$MDNS" ]        || DAEMON_ARGS="$DAEMON_ARGS --mdns $MDNS"
[ -z "$OUTPUT_OPTS" ] || DAEMON_ARGS="$DAEMON_ARGS -- $OUTPUT_OPTS"

# Exit if the package is not installed
[ -x "$DAEMON" ] || { echo "$NAME is not installed" >&2 ; exit 1; }
id -u "$USER" >/dev/null 2>&1 || { echo "User $USER does not exist" >&2; exit 1; }

# Load the VERBOSE setting and other rcS variables
. /lib/init/vars.sh

# Define LSB log_* functions.
# Depend on lsb-base (>= 3.2-14) to ensure that this file is present
# and status_of_proc is working.
. /lib/lsb/init-functions

do_start()
{
    # Let the daemon write to the pid/log/error files
    touch $PIDFILE $LOGFILE $ERRFILE
    chown root:$GROUP $PIDFILE $LOGFILE $ERRFILE
    chmod 660 $PIDFILE $LOGFILE $ERRFILE

    start-stop-daemon --start --quiet
        --pidfile $PIDFILE
        --exec $DAEMON
        --chuid $USER:$GROUP
        --nicelevel $NICE
        -- $DAEMON_ARGS
}

do_stop()
{
    start-stop-daemon --stop --quiet
        --pidfile $PIDFILE
        --exec $DAEMON
        --name $NAME
        --retry=TERM/10/KILL/5
}

do_reload()
{
    [ -f $PIDFILE ] && kill -HUP $(cat $PIDFILE) || return 1
}

case "$1" in
  start)
        log_daemon_msg "Starting $DESC" "$NAME"
        do_start
        log_end_msg $?
        ;;
  stop)
        log_daemon_msg "Stopping $DESC" "$NAME"
        do_stop
        log_end_msg $?
        ;;
  reload)
        log_daemon_msg "Reloading $DESC" "$NAME"
        do_reload
        log_end_msg $?
        ;;
  status)
        status_of_proc "$DAEMON" "$NAME" && exit 0 || exit $?
        ;;
  restart|force-reload)
        log_daemon_msg "Restarting $DESC" "$NAME"
        do_stop
        case "$?" in
          0|1)
                do_start
                case "$?" in
                        0) log_end_msg 0 ;;
                        1) log_end_msg 1 ;; # Old process is still running
                        *) log_end_msg 1 ;; # Failed to start
                esac
                ;;
          *)
                # Failed to stop
                log_end_msg 1
                ;;
        esac
        ;;
  *)
        echo "Usage: $0 {start|stop|status|restart|force-reload}" >&2
        exit 3
        ;;
esac

:
最后也同样sudo update-rc.d shairport defaults,实现开机自启。
5)有了可以实现局域网串流的无线小音箱,少了树莓派的音乐盒功能怎么能行?基于Python的网易云音乐命令行版本你值得拥有:https://github.com/darknessomi/musicbox
按照readme配置好musicbox后,登陆自己的云音乐账号,就可以实现在线播放音乐了。值得一提的是该音乐盒支持命令行方式滚动歌词播放。
6)使用DNSPOD API和Python实现免费的DDNS。之前给电信客服打电话给家里的网络申请了公网IP,但是该公网IP的地址每隔一段时间就会重新分配,于是我萌生了使用定时任务每隔一段时间检测并将树莓派公网IP绑定到我的域名上的想法。具体的做法是新建一个.py文件放在小派中,然后设置其隔一段时间运行一次,py文件的内容为:
#!/usr/bin/env python
#-*- coding:utf-8 -*-

import httplib
import urllib
import socket
import json
import time

ID = "your_ID"
Token = "your_ID token"
params = dict(
    login_token=("%s,%s" % (ID, Token)),
    format="json",
    domain_id=your_domain_id,
    record_id=your_record_id,
    sub_domain="your_sub_domain",
    record_line="默认",
)

current_ip = None

def ddns(ip):
    params.update(dict(value=ip))
    headers = {"Content-type": "application/x-www-form-urlencoded", "Accept": "text/json"}
    conn = httplib.HTTPSConnection("dnsapi.cn")
    conn.request("POST", "/Record.Ddns", urllib.urlencode(params), headers)
    response = conn.getresponse()
    print response.status, response.reason
    data = response.read()
    print data
    conn.close()
    return response.status == 200

def getip():
    sock = socket.create_connection(('ns1.dnspod.net', 6666), 20)
    ip = sock.recv(16)
    sock.close()
    return ip

if __name__ == '__main__':
    while True:
        try:
            ip = getip()
            print ip
            if current_ip != ip:
                if ddns(ip):
                    current_ip = ip
        except Exception as e:
            print e
            pass
        time.sleep(30)
然后再使用sudo crontab -e编辑定时任务,最后一行加入:
*/30 * * * * python /home/pi/ddns/file_name.py >> /home/pi/ddns/file_name.log 2>&1

这样就实现了每隔30min的自动ddns。
7)在树莓派上搭建基于nextcloud的个人私有云盘(NAS)。Nextcloud作为前老牌个人私有云程序owncloud的继任者,在各种私人网盘建设的方案中脱颖而出。这里我的建站环境也选择了较为方便的lnmp,他们的地址看这里:https://lnmp.org。安装完成了后就可以创建虚拟主机,加载网站程序了。Nextcloud支持私人网盘中音乐、视频的在线播放,文档的在线阅读,多用户管理以及文件分享,可以说是相当强大。